These tips were compiled with the help of:
Erik Weaver, Entertainment Technology Center, USC
Jeff Nicosia, Industrious Films
Dina Mande, Juice Media
Video conferencing is absolutely everywhere now, and for good reason! Social distancing appears to be helping “flatten the curve” around the world, and the ability to do video conferencing has certainly helped.
Seeing a ring of friendly faces on our calls has proven a fantastic way to bring teams, families, and friends together—even if we’re all calling from our kitchen tables instead of our offices, or chatting from the couch instead of together at a coffee shop. And it’s not just us normal folks—it’s now common to see chat show presenters and cable TV interviews delivered from laptops and iPads as well.
We’re lucky to work with a lot of folks on staff and among our customers who’ve spent careers helping people look good on camera. So we figured, since everyone’s thinking about how to put their best faces forward, we’d reach out to some of our friends who produce beautiful video and images for a living and collect their top tips to bring TV studio magic to your own video conferencing, or even prepare for your own remote TV interview.
As we cover each area where you can upgrade your setup, we’ll provide tips that cost little or nothing, but be sure to call out options where you can get more dramatic results for modest expense.

The Expert’s Guide to Upping your Video Conference Game
Before you start to worry about lighting your “good side” let’s make sure you’ve got the fundamentals dialed in first. You want to be sure that your “stage”—including baselines like network bandwidth, power, and your computer’s desktop—is set for success. No matter how well you set the scene, if your shot is blurry because the rest of your housemates are streaming 4K video, your work will have been for nothing.
Equipment Check
Mount
Most of us use our laptops for video conferencing, but iPhones and iPads are great self-contained video streaming devices too. Whichever you use, make sure that you have them on a stable platform. Even mild shaking as you type away or move at your desk can translate to jittery video for everyone else, distracting your audience from you and what you’re presenting.
Network
Having a solid network connection is one of the most important factors in your setup. If you’re on WiFi, see if you can prioritize your connection using your router’s Quality of Service feature, or move everyone not presenting to their own network. Use a 5GHz network for work, and a 2.5GHz network for, well, everything else.
If you’re on a laptop, try to get a wired ethernet connection for the biggest and most forgiving bandwidth. If you’re like most people and run a 100% WiFi household, don’t worry, this isn’t as hard as it sounds. Your WiFi router likely has an ethernet port you can use to get a direct, wired connection to get the maximum bandwidth. Of course, depending on the computer you have, you may need an adapter and possibly a long ethernet cable to complete this fix.
HowToGeek’s Home Router Guide to Quality of Service.
Power
It may seem obvious, but make sure everything’s plugged into power or at least has a healthy charge—your computer, bluetooth keyboard and mouse, everything—before starting that critical video conference or webinar. And be sure to temporarily set your laptop to “no sleep mode” to avoid suddenly seeing a lock screen on your computer while you’re talking!
Good Housekeeping
If there’s even a chance you’ll be sharing your screen during your presentation, you should clean up your desktop icons (you should really do this anyway) and swap in a solid color desktop background, which can actually reduce video compression artifacts (all of that weird stuff you see on the screen when your connection is bad).
In your browser, make sure to close out applications and web browser tabs you don’t need for your presentation and turn off notifications so the whole office doesn’t see you playing Buzzword Bingo during your next video conference!
Turn off notifications on a Mac: Option-Click on notifications in the menu bar.
Camouflage on Apple App Store.
Camera’s Ready, Set… Rolling!
Those tiny cameras in laptops, phones and tablets sit on the edge of the device, but since you tend to look at the middle of your screen during a web conference where your colleagues’ faces are, you’ll want to raise your laptop so that the camera is on eye level while you’re speaking. This way, you’re not looking down on, or up to everyone else in the conference. When you’re talking or presenting, speak to the camera as if it actually is the person you’re speaking to; it may help to put a smiley face on a Post-it under your camera to help you remember.
Or, you can actually use your iPhone or iPad as an external camera instead of using the one in your laptop thanks to some clever apps like EpocCam by Kinoni. As long as your iPhone is on the same WiFi network as your laptop, or connected via your USB cable, you can select it as a new camera in your video conferencing app.
For the best results possible, add a dedicated external camera. While some go for purpose-built webcams like the Logitech P220, or even action cameras like the GoPro Hero, you might be able to turn your existing DSLR camera into a TV studio quality workhorse by mounting it on a mini-tripod on your desk, connecting it to your laptop with an HDMI cable, and putting the camera into streaming mode. You may also need to download an app from your camera’s manufacturer to put it in streaming mode; specific steps vary for each camera platform.
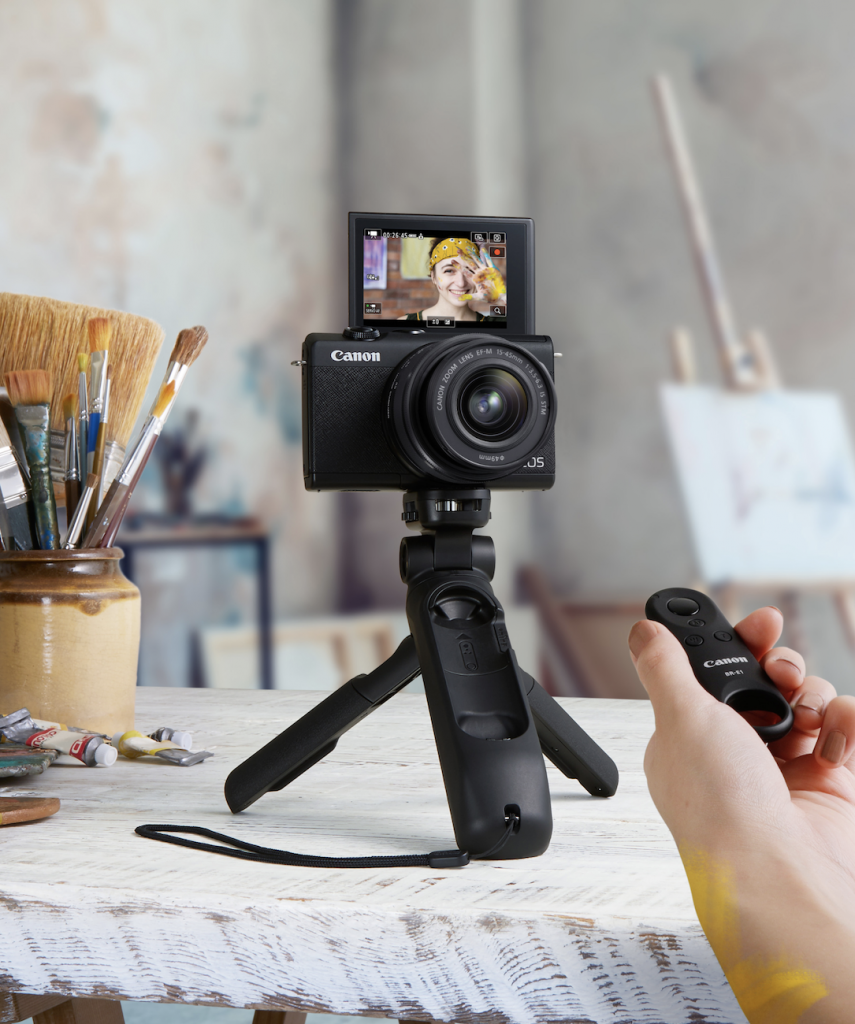
YouTube and Twitch streaming stars find this to be the single best investment to make their streaming look as professional as possible. Some popular choices here are the Canon M200 and the Canon M6 Mark II, and Nikon and Sony have similar offerings. And when not connected to your laptop for conferencing, you have an amazing still and video camera. (Which you can’t say with dedicated streaming video cameras.)
Soundcheck
For the most part, the sound and microphone in your laptop does a great job of picking up your voice and playing back the conference audio. If you’re in a noisy environment, you’ll want to use your headphones to isolate the conference audio, and be sure to hit that mute button when you’re not speaking. Run a test with a friend and check for room audio problems like the background noise of a fan or refrigerator, or boominess. Moving just a few feet to a different location could make a world of difference.
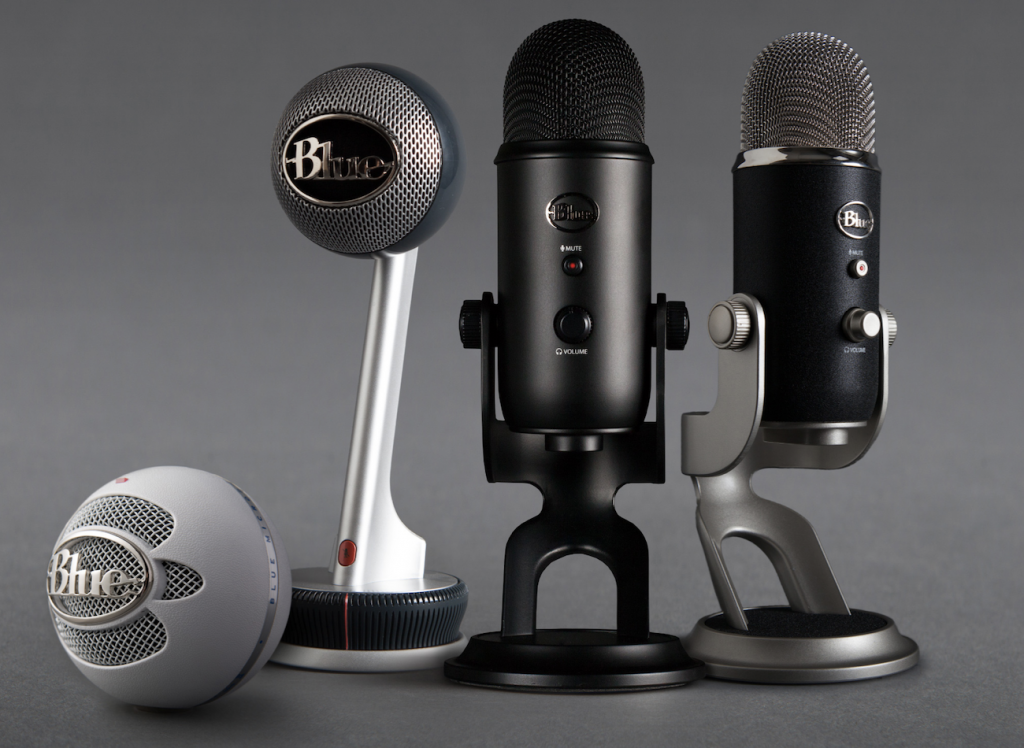
But to really upgrade the sound of your voice, you’ll want a much better microphone than the tiny one buried in your laptop or phone. Here, we take a top tip from podcasters and make a modest investment in podcast style microphones. Blue makes superb microphones such as the Yeti and Snowball that help make you sound like a radio star.
Check Your Six
Just like TV studio set designers, it pays to think about what else you’re showing on the screen. What’s behind you? To keep the focus on you and what you’re saying, situate yourself against a plain background and reduce visible clutter. Some find that room divider or Shoji-style screens work well, too. Or, you may want to decorate your office “stage” with a more professional background, like a bookcase tastefully arranged with awards and recognition. For the most part, a simple, non-distracting background is what you’re going for.

Or, make the leap into digital set design. Some conferencing apps like Zoom let you swap in a picture to replace your background, digitally. (Just be sure to practice turning it off and on at the risk of delivering your next status report as a potato.)
If you have the room, you can pair a simple photographer’s backdrop and frame to turn your home office into a home studio suitable for filming testimonials and interviews. If you also add a greenscreen, your Zoom backgrounds will look as good as the cable news channels.
Snap Camera to choose custom backgrounds and filters that work for Zoom, Google Hangouts, etc.
How to Set Up Your Collapsible Background.
Lights
Good lighting takes your web conference video from flat to dramatic. Your room’s interior lights are designed to light your room, not your face. Any lights beaming directly into your laptop camera will confuse it and it will shift constantly to try to compensate for video hot spots.
If you have good natural daylight available from a window, try repositioning your laptop with different angles to make sure that the sun shines on you, and not in your viewer’s eyes. An indirect angle on your face works best. Sheer drapes will soften any harsh light.
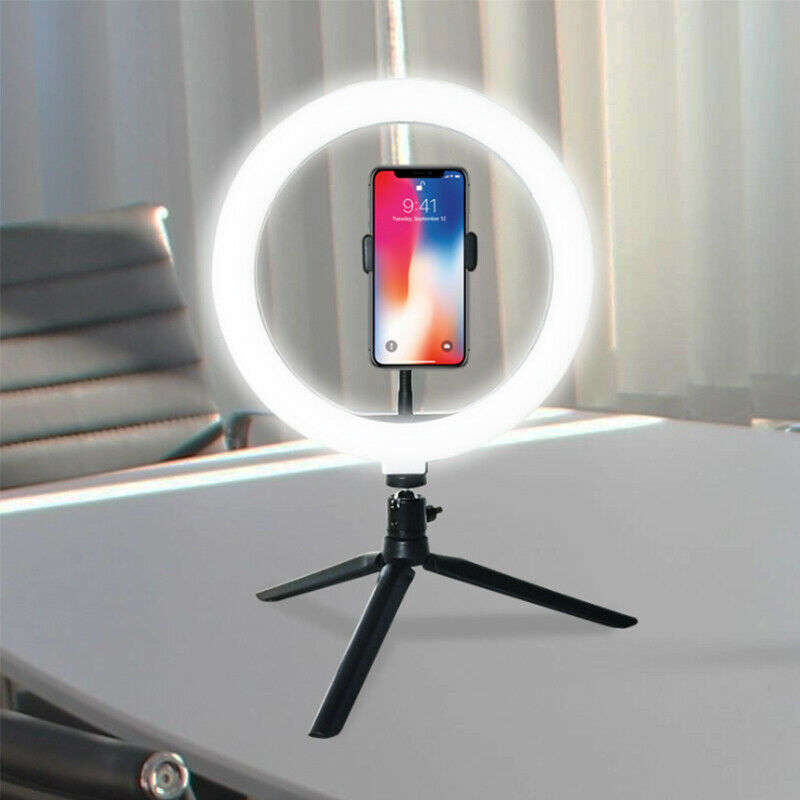
Even with good daylight, a large LED light ring can deliver “I’m ready for my close-up” lighting. For the most flattering image that really pops on-screen, you can easily adopt a classic two or three light photographer’s setup. You can arrange desk lamps and floor lamps, or buy inexpensive clamp lights to create a high key light angled at your face, a lower angled fill or low key light, and optionally, another light behind you that shines up to help fill your background.
The results with even common household lights are dramatic. For modest expense, you can add clamp lights with fluorescent or LED “daylight” bulbs, and you can easily soften shadows by clamping translucent paper over the front of the bulb.
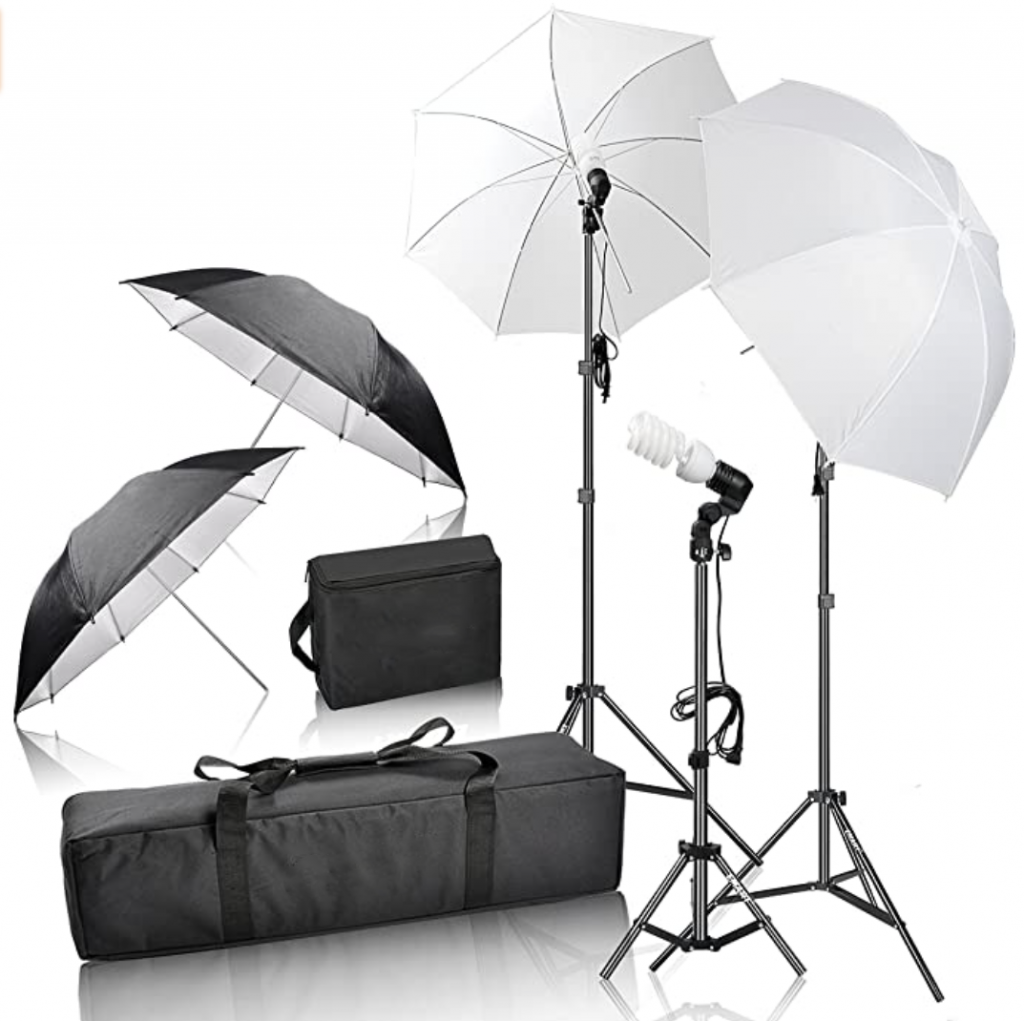
If you’ll be doing a lot of streaming, you can get an inexpensive three point lighting kit that can be moved and set up anywhere quickly.
RocketJump’s excellent eight minute Lighting 101 Tutorial:
Ready for Your Close-Up?
Now, what to wear? One top tip: don’t wear black at the risk of appearing as a floating head. Try to position your camera far enough away so that your head fills about two thirds of the screen and the tops of your shoulders are visible. Now pull your shirt down in the back to smooth out wrinkles.
And finally, for the full TV star treatment, eye-brightening or allergy relief drops will make your eyes their whitest, simple bronzer or self-tanner will add color to your face, and if you see lights bouncing off bright spots on your forehead, video producers everywhere swear by Neutrogena Matte finish applied with foam wedges.
How to Apply Camera-Ready Makeup for Men and Women.
PhotoJoseph’s Makeup Tutorial:
3, 2, 1…
Finally, it’s good practice to prepare for the unexpected. Write down important dial in codes or URLs in case your internet or power conks out and you have to rejoin quickly from your phone. Have a glass of water handy just within reach and place a note on your door that you’re in a conference.
And, Action!
Yet no matter how carefully we prepare, life happens. So when your dog jumps in your lap, or your suddenly homeschooled office mate gives you their art project to look at—it’s ok! We’re all going through it too, and we’re all in it together!
What tips or stories can you share? Comment below!