We all have that one overflowing file cabinet or possibly a closet we’ve been jamming full of files we think may be important to keep, whether because we might need them one day or they include too much personal information.
This year, with the income tax deadline extended to July 15th, I decided to try to sort through all the files I’ve put aside that I felt were important. I keep the current information I need for filing my taxes near me but the older documents I just throw in a box in my basement. With more time at home this year, I’ve realized that a lot has been “saved” over the years. Nonetheless, keeping the old records might come in handy if I need to produce them to file a claim for a tax refund, if someone steals any of my information, or if a creditor or an insurance company asks for specific records from longer than a few years ago.
After going through the process of sorting my old files and documents, I found that other people around me—family members or friends—also have a lot of important documents they want to digitize and back up, and might not know how to start. I want to help make that process a bit easier for other people and provide some peace of mind that all of your important documents stay safe and easy to access for years to come.
Things to Keep in Mind Before You Start
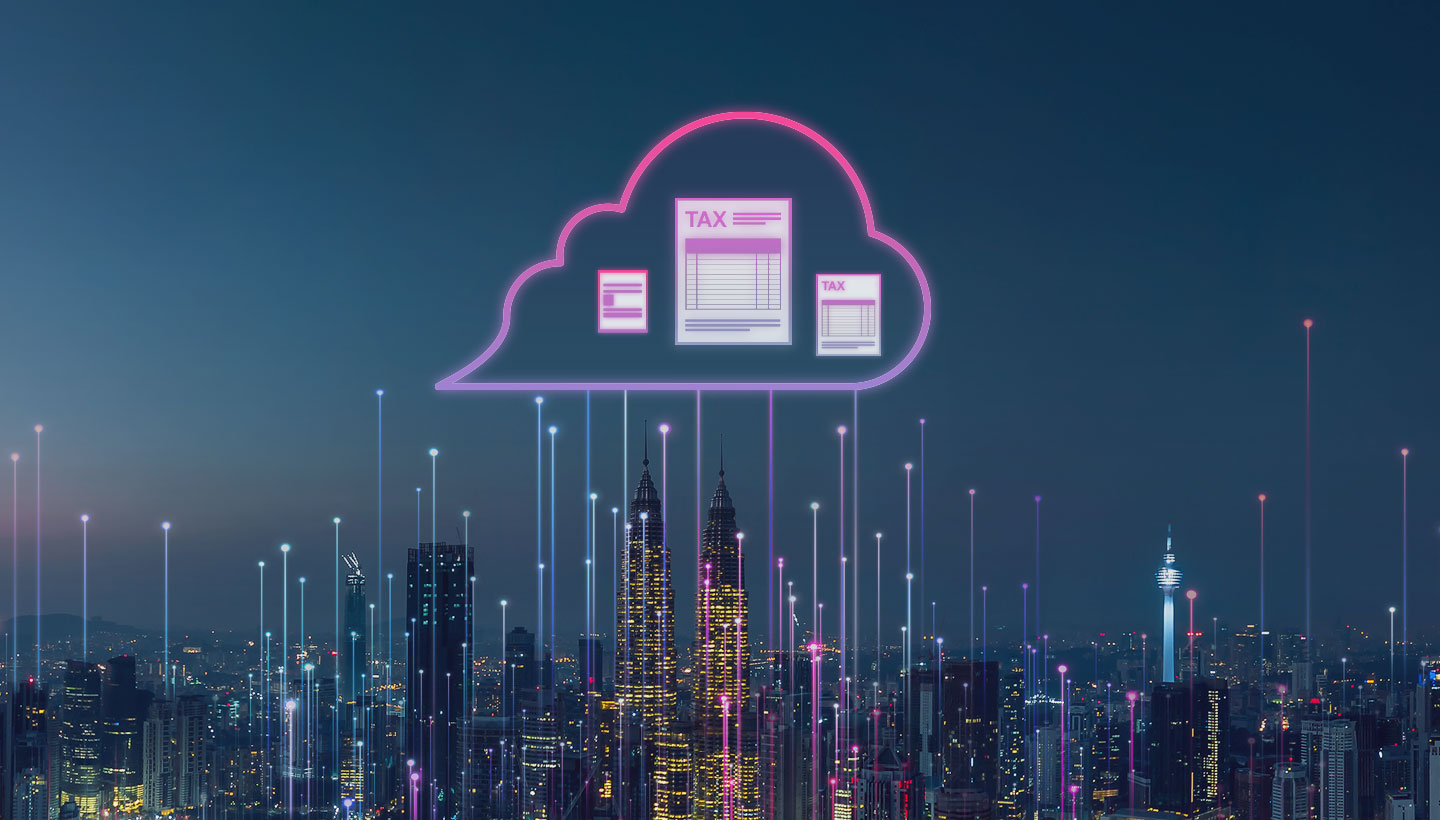
This is a great time to go through your documents and decide what’s worth keeping and what you should shred. The IRS recommends that you save your tax documents for three years and sometimes up to seven years depending on what kind of document it is.
Since 1997, the IRS will accept electronic records as long as they are legible and readable. Having your tax documents in a digital format allows you to get more organized with the way you keep them. When scanning your documents you’ll want to pay attention to what you are naming your files and the state that they are in. Make sure the new digital files are set up in a way that when you search later, you can easily find the information you’re looking for.
Getting the Paper Documents to Your Device
When picking a way to digitize the documents it’s all about what kind of device you feel most comfortable with using. If you don’t feel comfortable doing it at all, you can hire a professional to do it for you. Read on to learn more about both of these options.
Desktop Scanners
This is one of the most common methods of scanning. Whether you have a printer with a scanning function or a device only used for document scanning, this will get your documents on to your computer one scan at a time. There are many different kinds of scanners for different use cases so we recommend comparing reviews of scanners to think about the features that best fit your needs.
Using a desktop scanner will take you a while depending on the size of documents you need to scan but it is a good option for a long term project if you prefer to organize your files on your own.
Third-Party Apps for Your Phone
This option will speed up the scanning process a little more compared to using a scanner. These apps like Evernote Scannable or CamScanner will use your phone’s camera to scan printed documents, receipts, family reunion pictures, birth certificates, and more. Some may even have a function that will analyze the type of document and sort it into a folder for you. That means that all of your photo scans are saved in one folder, while scanned documents go in another. Depending on the third-party app that you chose, it could also have connections to sync services, like Dropbox or Google Drive.
Also, depending on the phone that you have, there may be first party apps available as well, like PhotoScan by Google. If you’re using an Apple device, iOS 11 includes a scanning feature built-in to the Notes app, while iOS 13 supports a scan and sync feature in the Files app.
Document Scanning Services
If you have a very large (closet size) amount of documents to save, then you may not feel comfortable doing it all by yourself. This is when a professional can help you with your project. You can send all your files to a company near you that offers document scanning services. They will work with you to digitize all your important documents and even sort them into folders (and possibly subfolders) to keep your paper documents organized and easy to find on your device. They also give you the option to shred documents you no longer need. This option will off-load the stress that may come with going through your big box of document doom.
One thing to note: These services are great for things like photos, but be aware that you will send them your personal, private, or confidential information, and that they will have access to that data.
Now Your Files Are Digital. What’s Next?
Now that you’ve had your documents digitized on to your computer or a hard drive, it’s important to make sure you protect that data from computer damage (spilled coffee can wreak havoc), viruses, and ransomware by backing up your device.
If you’re using a third-party app to scan and sync your tax documents, you’ll want to be sure you’re also backing them up. Using a sync service, like Google Drive or Dropbox, doesn’t guarantee that your data stays protected. (We go into the details of the differences between sync and backup in this post.) These things may sound very similar but the important difference is that a sync service lets you access the same files across devices, whereas a backup service saves a copy of the most recent version of your data on your computer to another location. More simply: Sync doesn’t protect your data from accidents or disasters.
If you are new to backing up your data, it’s good to make sure you have three copies of your data, the original and at least two backups: one local, on your desktop or on a hard drive, and one in the cloud. Having backups of your newly digitized data ensures that you will always have your important tax information whenever you may need it. We call this the 3-2-1 backup strategy, and you can read more about what it means, here.
It’s important to actively back up your old tax records (or any records) in case you may need to produce them one day. Digitizing and organizing your documents now will help if that situation ever occurs.
Do you have any tips on backing up paper documents that we didn’t mention above? Share them in the comments below!