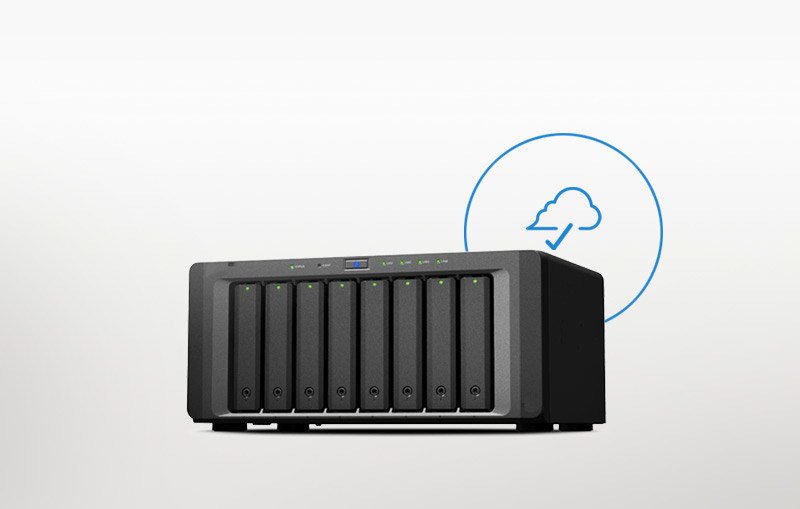
If you are using a Synology Network Attached Storage (NAS) device in your home or office, you’ve already discovered the value of centralizing all your files into one device. The next challenge is creating and maintaining an offsite copy of the files stored on your local NAS device.
If you’re using a Windows PC, MSP360 (formerly CloudBerry Lab) makes it possible to back up your Synology NAS device to Backblaze B2. Assuming your NAS is configured to shared with your Windows devices, the data from your local systems can be stored on the Synology NAS and then automatically synced to Backblaze B2 by MSP360.
We summarized the steps below on how to set up MSP360 and Backblaze B2 and if you need more information MSP360 has detailed instruction on their website.

Backing Up a Synology NAS to B2 using Windows
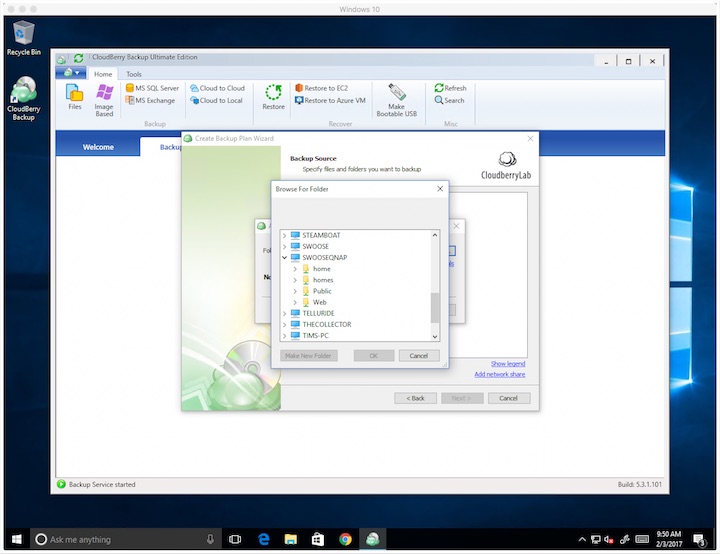
- Launch the MSP360 app then click Files to create a backup plan. The Backup Plan Wizard will step you through the process.
- When you’re prompted to select cloud storage, add B2 Cloud Storage from the list of supported services. You’ll need your B2 account ID, application key and bucket name to proceed. All of this info is available from your Backblaze account info if you’ve activated B2.
- Name your backup plan and select the options you prefer. Click Next to continue.
- Next navigate to the networked NAS volume you’d like to back up. You will need a valid user name and password on the NAS to continue. You can edit your network path and click the Test button to make sure everything is working OK.
- MSP360 lets you specify file types to back up or to skip with advanced filtering features. You can specify file types to include and exclude, skip directories, backup or skip files based on modification dates and more.
- MSP360 also supports encryption and compression. Make sure to record the password you use to encrypt files, or you won’t be able to restore your backup.
- Configure retention policies: You can make MSP360 back up only the most recent version of files, keep all versions, or delete backups older than a specific number of days — helpful for managing backup storage and bandwidth.

- Schedule your backup when it’s convenient for you. Develop a recurring schedule that’s not going to interfere with other operations.
- You can also configure MSP360 to email you to let you know when the backup is done.
- Once you’ve created the backup, click the Run Now button to get it started.
Restoring Your NAS Using MSP360 for Windows
The first step to restoring with MSP360 is to create and execute a restore plan.
- To get started, click the Restore Plans tab, give your plan a name and click Next.
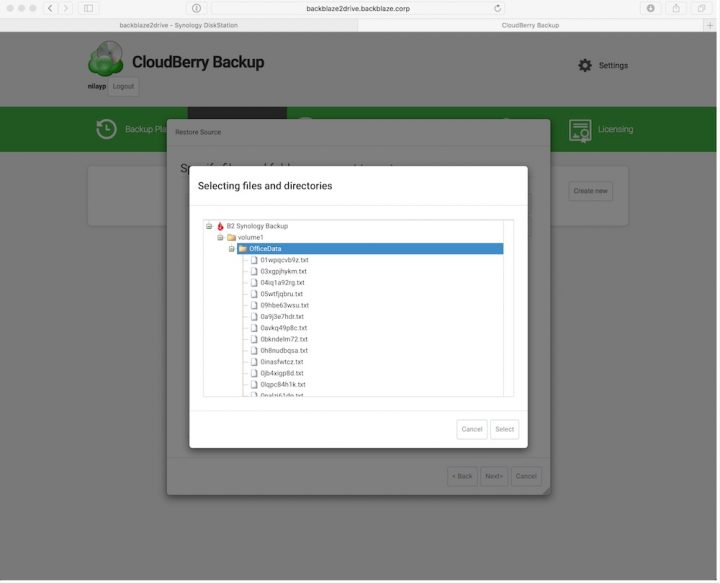
- Specify the files or folders you want to restore, then click Next.
- Choose which version you’d like to restore — the latest backup or the backup from a specific point in time.
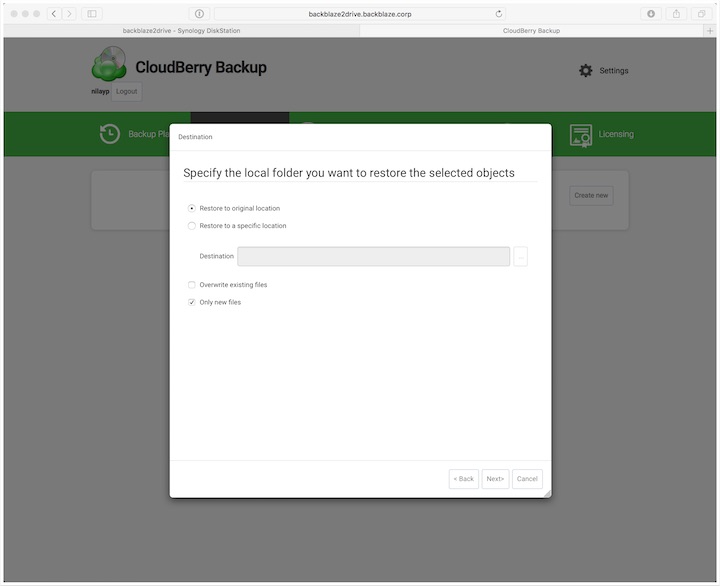
- Specify where you’d like your backup to restore to. You can restore files to their original location — helpful if you’re recovering deleted files — or another location.
- If you’ve protected your backup with encryption, you’ll need to enter your password to decrypt the backup.
- You can notify yourself with an email when the recovery is complete.
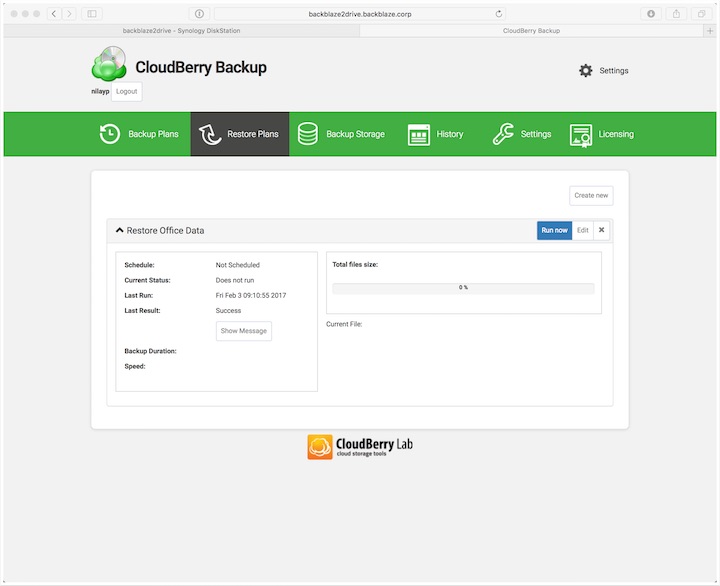
- Click Run Now to get started with the restore.
Together, Backblaze B2 and MSP360 make it easy for you to back up your Synology NAS to the cloud. MSP360 is available as a free trial download if you’d like to give it a shot.